Astro Data Fetching: How to Fetch Data in Astro

Written by Kolade Chris | Nov 16, 2024 | #Astro | 2 minutes Read
Like I said on Twitter (now X) a while ago, Astro is the only framework that makes everything ridiculously uncomplicated for you.
In this article, I want to show you how ridiculously uncomplicated it is to fetch data in Astro using a simple API from JSON Placeholder.
How to Fetch Data in Astro
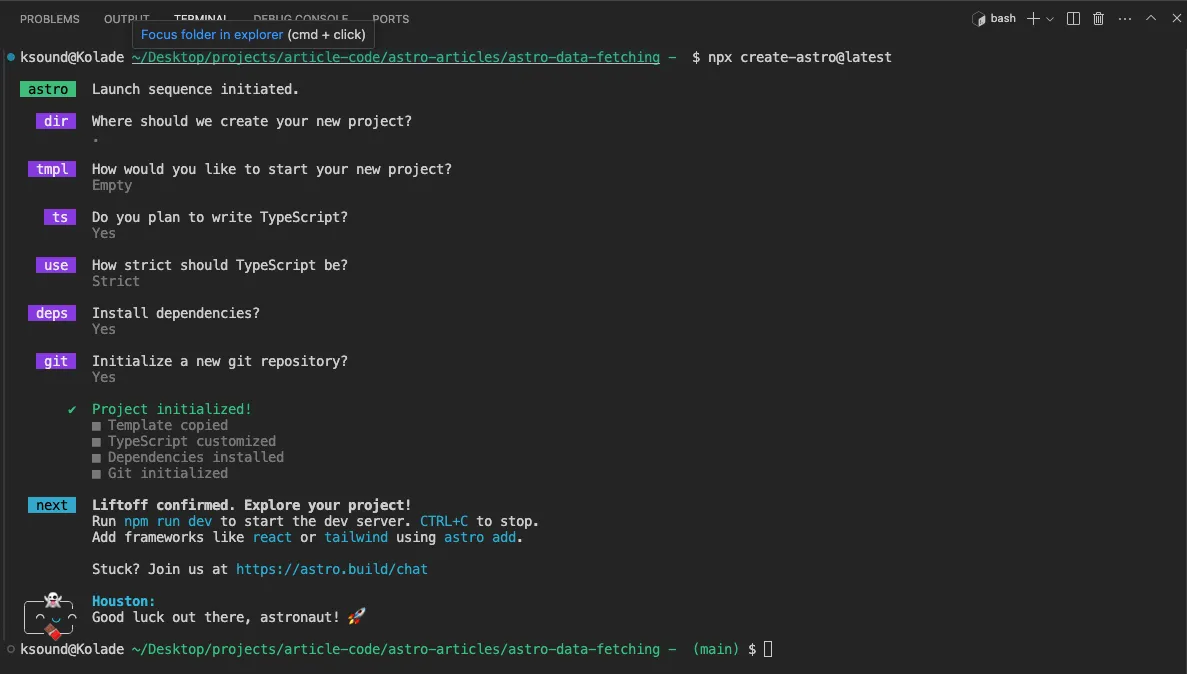
To get started, I have installed an empty Astro project. Here are the prompt choices I made during the installation:
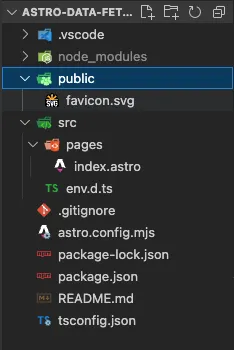
Here’s the initial folder structure of the project:
You only need the traditional fetch API to fetch the data. Open up a code fence inside src/pages/index.astro and paste this inside it:
---fetch("https://jsonplaceholder.typicode.com/posts") .then(res => res.json()) .then(data => console.log(data))---That’s all you need, but Astro has a beautiful way to enhance and simplify this. You might also want to pass the data into the template so you can see it in the browser. Keep reading so I can show you this.
To simplify the data fetching, Astro has a top level await built-in, so you don’t need an async function to use it. YOu can use this for the data fetching:
const response = await fetch('https://jsonplaceholder.typicode.com/posts');const data = await response.json();
console.log(data);In the template, you can stringify the data for a start:
Data: { JSON.stringify(data);}Then map through it:
<body> <h1>Astro Data Fetching</h1> {data.map((post:any) => ( <div> <h2>{post.title}</h2> <p>{post.body}</p> </div> ))}</body>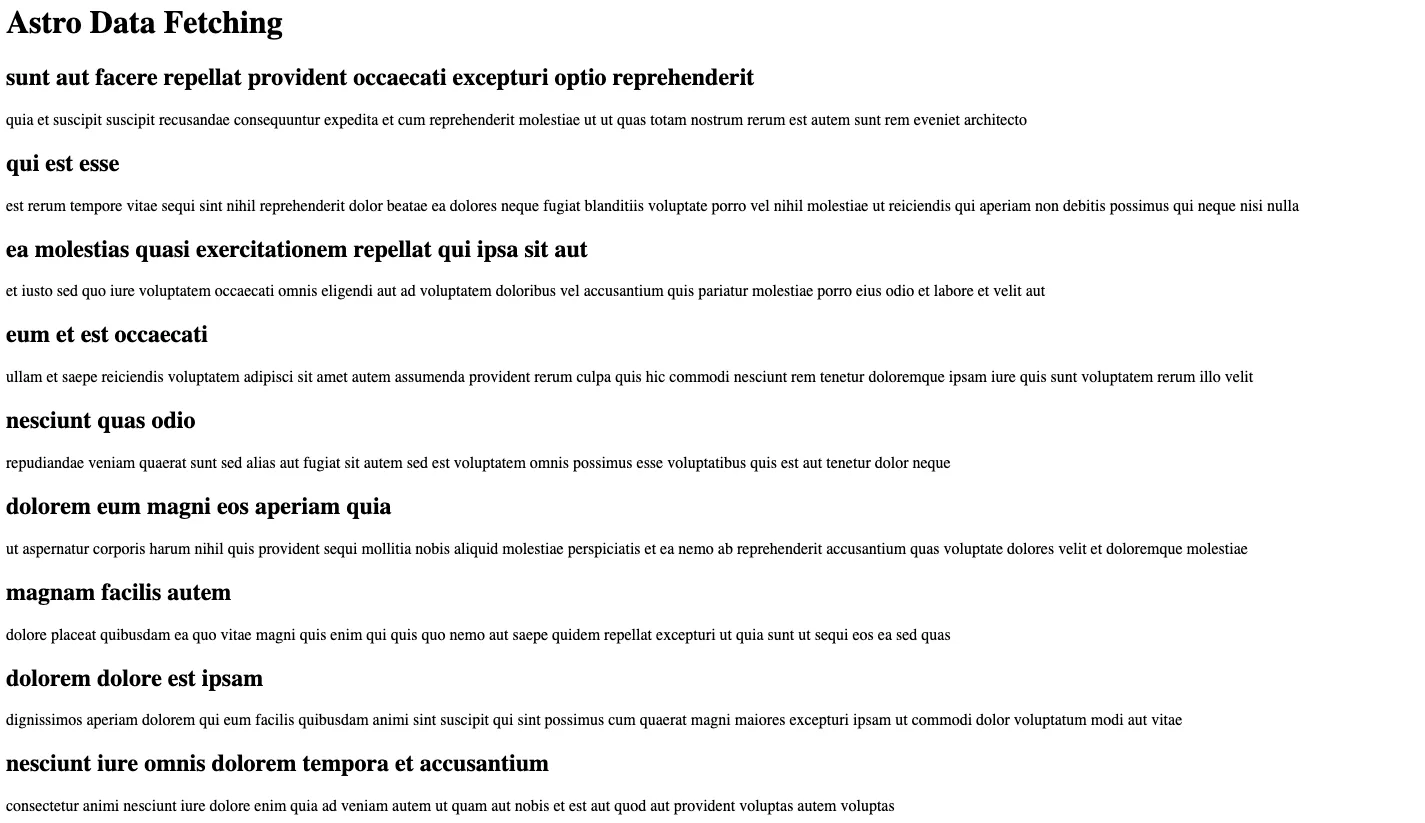
Thank you for reading!
If you want to fetch the data from a headless CMS, look through the Astro docs for data fetching from a CMS, and the CMS you want to use.